

Project links
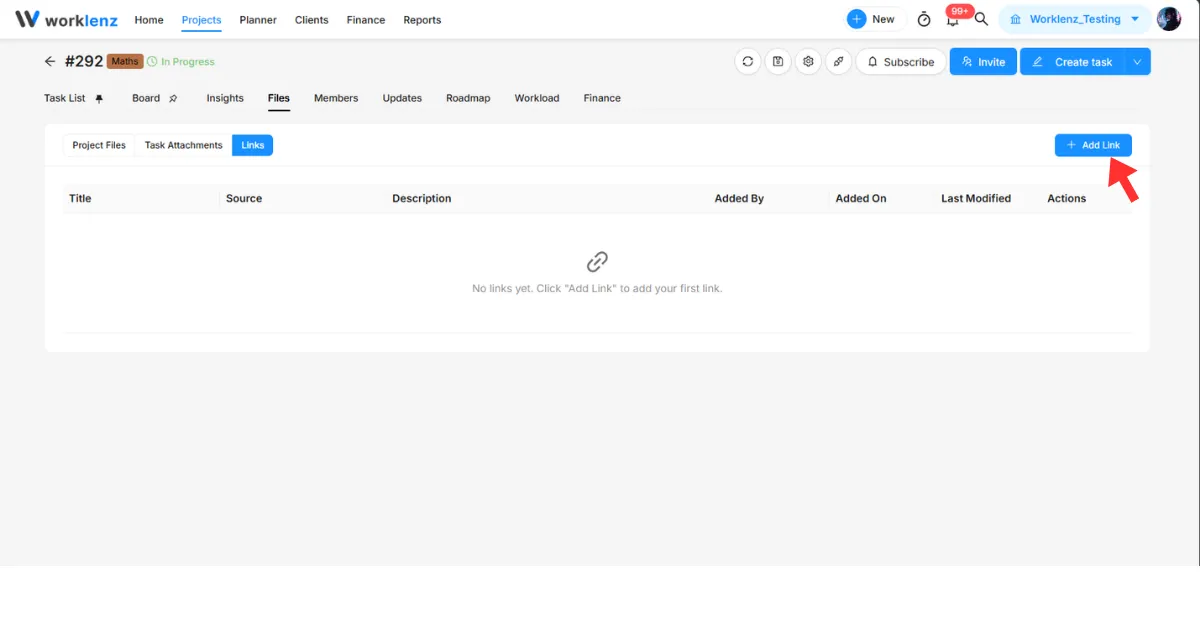
The Links tab lets you store and organize external resources (such as Figma designs, Google Drive documents, or Notion pages) directly inside your project.
How to Access
- Click Projects in the top navigation bar.
- Click on the project name to open it.
- Select the Files tab from the top project navbar.
- Click the Links sub-tab.
How to Add a Link
- Click the blue + Add Link button in the top right.
- Enter the destination URL (required, must be a valid http/https address), a Title (required), and an optional Description.
- Save the entry to add it to the project repository.
Links added from tasks
Links can also be created automatically when a team member adds a link to a task. These entries are tagged with the source task (for example, “From: Design review”) and cannot be edited or deleted from this tab. Instead of Edit/Delete actions, they show an Open task action that takes you to the originating task.
Links directory table
The table organizes all external URLs saved to the project:
- Title: The title or label given to the link.
- Source: The website favicon and domain for manually added links, or the originating task for task-sourced links.
- Description: Optional details or instructions explaining the purpose of the link.
- Added By: The team member who created the link entry.
- Added On: The date the link was originally added.
- Last Modified: The date the entry was last edited.
- Actions:
- Open (Arrow icon): Opens the URL in a new browser tab (or opens the related task for task-sourced links).
- Edit (Pencil icon): Modify the title, description, or target address. Available for manually added links only.
- Delete (Trash bin icon): Remove the link from the project. Available for manually added links only.